One Sixth Warriors Forum banner

3D printing experience or figure/joints tips? - building Neytiri

1 reading
84K views 217 replies 61 participants last post by  dunk_guy01  
#1 ·
Hello all,

Visited here before, finally joined and hope to get some tips (messed up my post earlier, sorry :) ).
Well my Jake Sully figure will arrive soon and he really needs some company. So i hope to turn my own 3D model into a sixth scale figure to accompany him.
There's alot about 3D printing accesoires but i couldnt find much on whole figures so any tips or suggestions are appreciated before i finalise and combine the two sides and send it to Shapeways for approval.
Here she's about 44 cm high and i hope to be able to 3D print her piece by piece, touch up the parts and then put everything together.
I've read the printing material properties and demands but i'm sure it wont just work in one go. So i hope it to be a great 3d printing practice and i can always edit and reprint or even glue parts together.

So anyway, a fun little side project and i can't wait to finally have something 3D printed! I never took my own sixth scale figures apart so i'm not sure how their joints look exactly.
Couldnt find too much on this subject so love to hear what you think, especially on joints and other build tips.

There are no rubbery parts (all the same material) on this figure and i wanted to make pretty "extreme" poses possible so the joint gaps are a bit bigger.
Also the minimum thickness for printing is 0.7 mm (if any place is thinner it cant be printed and i'll have to adjust).

Image


and all the parts:
Image
 
#2 ·
Wow, that's a very ambitious and totally cool project!

A couple of suggestions.

1) print just two of the jointed parts first to test that the joints work to your satisfaction, or if they need tweaking.

2) make sure everything is as hollow as it can be - Shapeways charges by amount of material used.

Good luck, and keep us posted on the results.
 
#3 ·
Thanks! yes all the parts are hollow, with holes to get the rest of the material out. Otherwise the printer operator cant get the material out and the cost is still that of a solid item, or so i understood from their site :)
Just received my materials sample piece i ordered earlier to get a feel for the material and its flexibility so right now i'm adjusting the joints on that.
 
#7 ·
Its made in Maya, thats a pretty expensive package but its also very complete with good animation tools. For 3d printing various packages can be used, including free ones like Blender!
Too learn it, well you have to get past the basics. You only need to know the modeling bit and you can build printable stuff. Its not that hard and there are great tutorials on youtube but its not that easy to do on your own and stick to it :)
 
#9 ·
Thanks for thinking along, could you explain? I actually rather have as little parts as possible. Right now its made out of two parts and the hand (so i can make a few different hands and swap them).
I am still tweaking it a little, these small bits are hard to print.
Shapeways also has a material that can print even smaller details (up to 0.3 mm) so i could also remove the hollow top for strenght and use that material.

Image
 
#15 · (Edited)
I have been wanting to get into 3D printing really badly lately. I do my digital sculpting in Z-Brush ($999) but I am generally just a conceptual designer and then hand it off to others for the actual rigging and animation so Z-brush is my thing. It is very intuitive and artist friendly but it still does have a learning curve and the newest editions have millions of possibilities so for the beginner it is important to follow the tutorials and learn the core before getting distracted by all their other awesome features. (Pixelogic also has a free program called Sculptris that has the most basic sculpting tools in it).

My current plan is to just print heads, hands, and accessories and utilize existing bodies that are being released. I understand from your subject matter that is not practical due to her size and amount of her flesh that will be exposed (basically all of it) but starting from scratch on body builds can be pretty daunting as you can see from the "big manufacturers" having had quite a few cracks at it before obtaining good results (and some of those are still debatable).

Good luck, from what I can see your joints look like they will work but you may end up with "loose" joints solely with the snap together idea... you may want to use metal hardware for the final assembly. Some people also use "ratchet joints" with mixed popularity. Basically very thin little fins on the inside of each joint that "pop" as you move them past each other... they wear with time and sometimes just don't work... just food for thought. I would hate for you to print her in her entirety and then have her arms and legs flop around on you.
 
#17 ·
Thx for the suggestions!
Last days i have updated my joints based on the material sample i ordered from shapeways. In short, to be safe i made them more flexible.
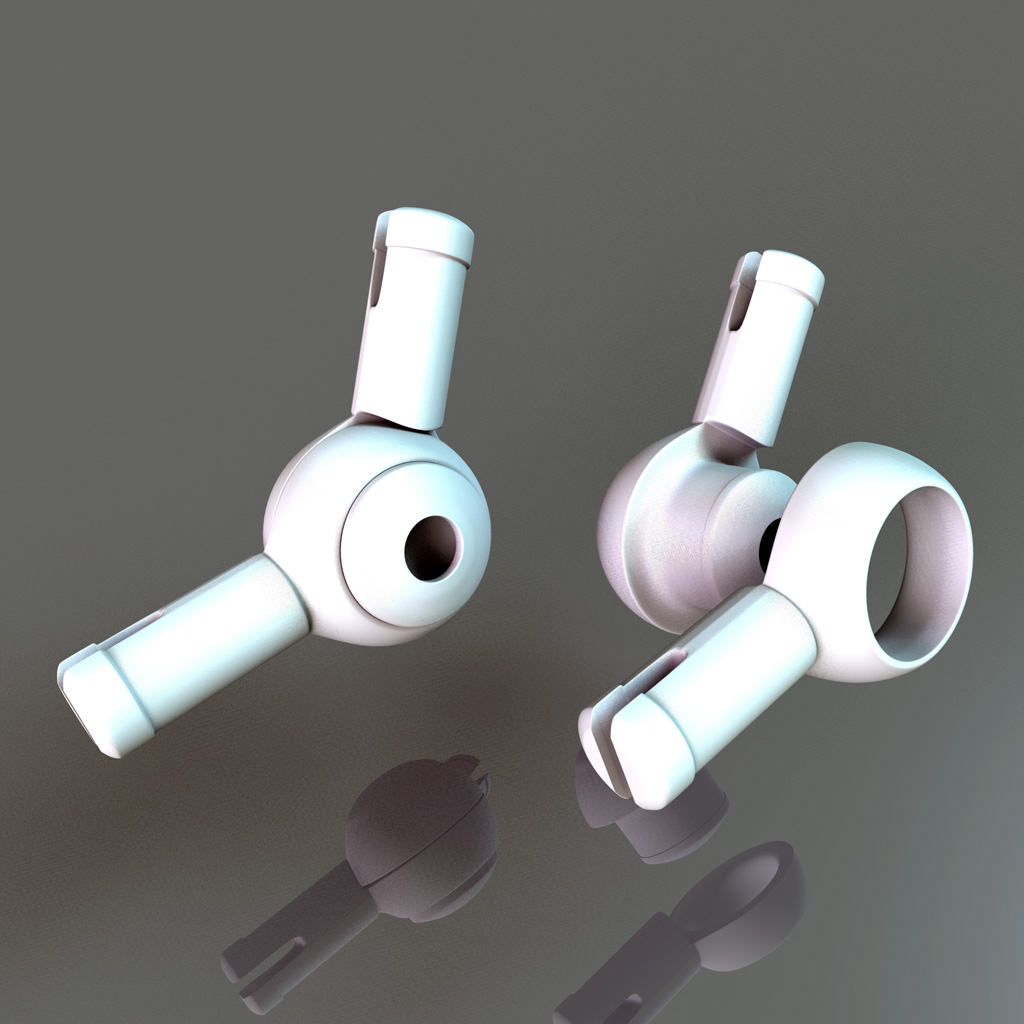
Made a new file combined and added all types of joints i used in one file and send it to shapeways. Hopefully its errorfree and they will print it (image below).
Based on this i can make adjustments or even giveup on certain joints and buy revoltechs or something. Personally i have mixed feelings on ratchet joints sometimes they work and sometimes they dont :)
Building the joints is alot harder then i thought at first so if i'm really far of i might use some from ebay.
Already had to hollow out or shorten some stuff, since its just a test i didnt at first but the difference is huge! 51 euro's vs 13 euro :) be carefull what you upload!

Image


Thanks for the theclubhouse1.net link will look into it. I didnt know that site :)
And yes voor sculpting heads, hands etc, zbrush is awesome, very intuitive.
 
#25 ·
Wow, very nice work! I have done printing my prototype for my future product, and it was made of ABS plastic. Quite rigid and fragile on the joints system. It broke on many areas, so I had to glue the broken parts several time. The result of the 3D printing was not so clean either. I still have to do some treatments like giving putty and sanding for every single part. Maybe if I use high quality 3D printer like Z650 Z printer, I won't get this kind of problems, but the cost of the service will be very expensive. What kind of 3D printer will you use?

http://www.onesixthwarriors.com/for...eviews-discussion/703442-product-prototype-development-1-6-mecha-troop-1-a.html
 
#27 ·
Thanks for that "anatomy" picture! Sofar i plan on using just one material. Especially the soft material is awesome on bodies these days, hiding seams and giving it a more realistic "soft"feel.
Adjusting the 3D model isnt a problem, its just that i know too little about the materials available and how they behave. Especially on casting i know next to nothing :)
Its all new to me so my goal is to get a complete "working" printed figure first.
Thanks for all the great tips already! Just hope i get my print soon so i can move on :)
@ Jodprak, great model! I'm amazed i missed it. Sorry to hear about the diffulculties you encountered with your prototype sofar but good to read you are actually taking it in production!
I used Shapeways sofar, dont know the printer but they call the material nylon plastic. Hopefully i get my printed bits soon so i can move on :D
 
#28 ·
Those are fantastic sculpts. I messed around with Blender for a few weeks and got OK with it but then moved on as I usually do. It's a lot of fun and once you have done it you appreciate all the work that goes into something like that. I used Shapeways a couple times and it took a couple weeks if that gives you a time frame. Waiting was the worst but I guess it makes sense considering the process and where it ships from. I should get back into it and come up with some new stuff.
 
#30 · (Edited)
Thx for keeping interest!
Well my 3D printed test joints came in today. Quickly put them together and they all work! For those interested, here's my review :)

Elbow and knee joint are a little hard to put together but they work really well, almost perfect.
Arm joint actually stays stiff (but not too much), even after a good bit of abuse.

Knee joint was firm aswell. Felt safe to hold a figure stable. Now that i disassembled and assembled it again it fits fine again but its loose at some angles.
Had to use a screwdriver to dissassemble it and the ring bit got bend so that might be the reason...
To be safe i'm going to think about improving it a little since it has to hold a 44 cm figure afterall.

The typical wrist/ankle joint also works well and fits in it own arm socket aswell (after i took some left over dust out).
I want it a little firmer tho. It wouldnt drop when holding a gun or something but i rather have it a bit extra stiff.

The balljoint idea works very good, it snaps in place. But the ball is to loose in its socket so ill have to adjust that.
Got some good ideas for that one tho :)

The upperarm (rotate above elbow, bottom right in pic) fits perfect but impossible to disassemble again.
After some abuse its still pretty stiff to rotate overall but at some degrees its a bit loose. Wear? Im not sure yet.. have to think about improving it a little to be safe (its still pretty good tho).

Anyway i will make some small adjustments but i'm really happy with the results!
Only the balljoint is really loose but thats an easy fix. And to be safe i made the ball a little smaller then the socket, that was wrong :)
Overall its pretty good, I am pretty affraid about wear tho. To be safe ill abuse them firmly the upcoming days :)
Hopefully the material can handle it and wont wear, cant design the joints against that.

Below an image, they are the same joints as in the earlier render, only assembled and in bad camera quality...
Image